Water Glass Xylophone Experiment
Have you ever tried the water glass Xylophone experiment? This week we did this super fun homemade water xylophone sound science experiment which is the perfect kitchen science! All you need is glasses, food coloring/paint colors, water, measuring cups, xylophone stick /wooden spoon/ plastic spoon.
If you are wondering what is kitchen science? Kitchen science is a science that can come out of the kitchen materials you have! They are easy to set up, inexpensive, and easy to do. All the supplies can be found at home. You just need to set it up on your table and go!
This activity is appropriate for four years and up.
Supplies Required

- 6 glasses
- Food coloring/paint colors
- Measuring Cups
- Water
- Plastic Spoon/ wooden spoon /xylophone sticks
All the glasses should be of the same shape and size.
Also do not use cracked glass otherwise it won’t make any music.
Procedure for Water Glass Xylophone Experiment
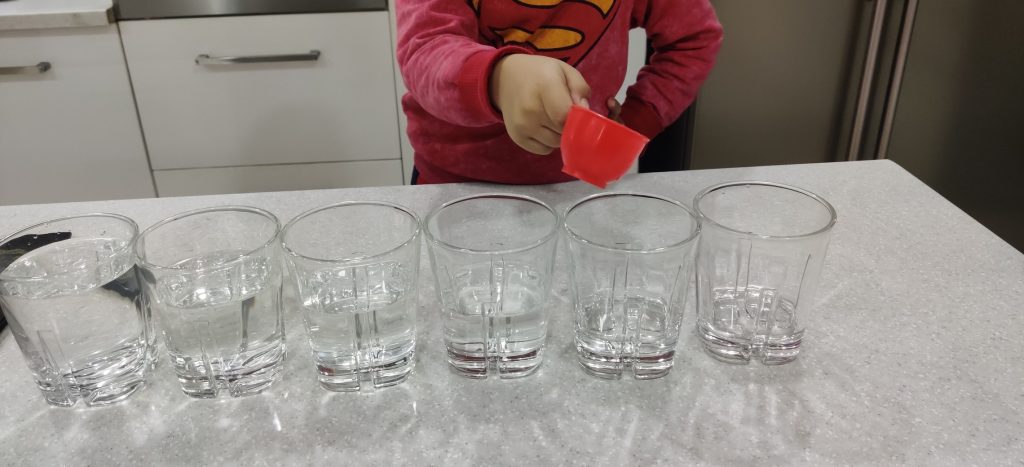
First, line up all the empty glasses on the table. At this stage, ask your child to tap each glass with a xylophone stick. I had a xylophone stick from my son’s toy collection. If you do not have it, you can use a wooden or plastic spoon too. Ask him/her if all glasses make the same sound when tapped?
The second step is to fill the glasses with water in equal decreasing increments. You have to pour less and less in the next subsequent glass. In the first glass, we put 1 1/4 cups of water, 1 cup in the second class, 3/4 cup in the third glass, and so on. We kept on decreasing the water by ¼ cup in each glass. My son had a great time measuring and putting the water in glasses. I am sure your child too will have fun pouring the water.

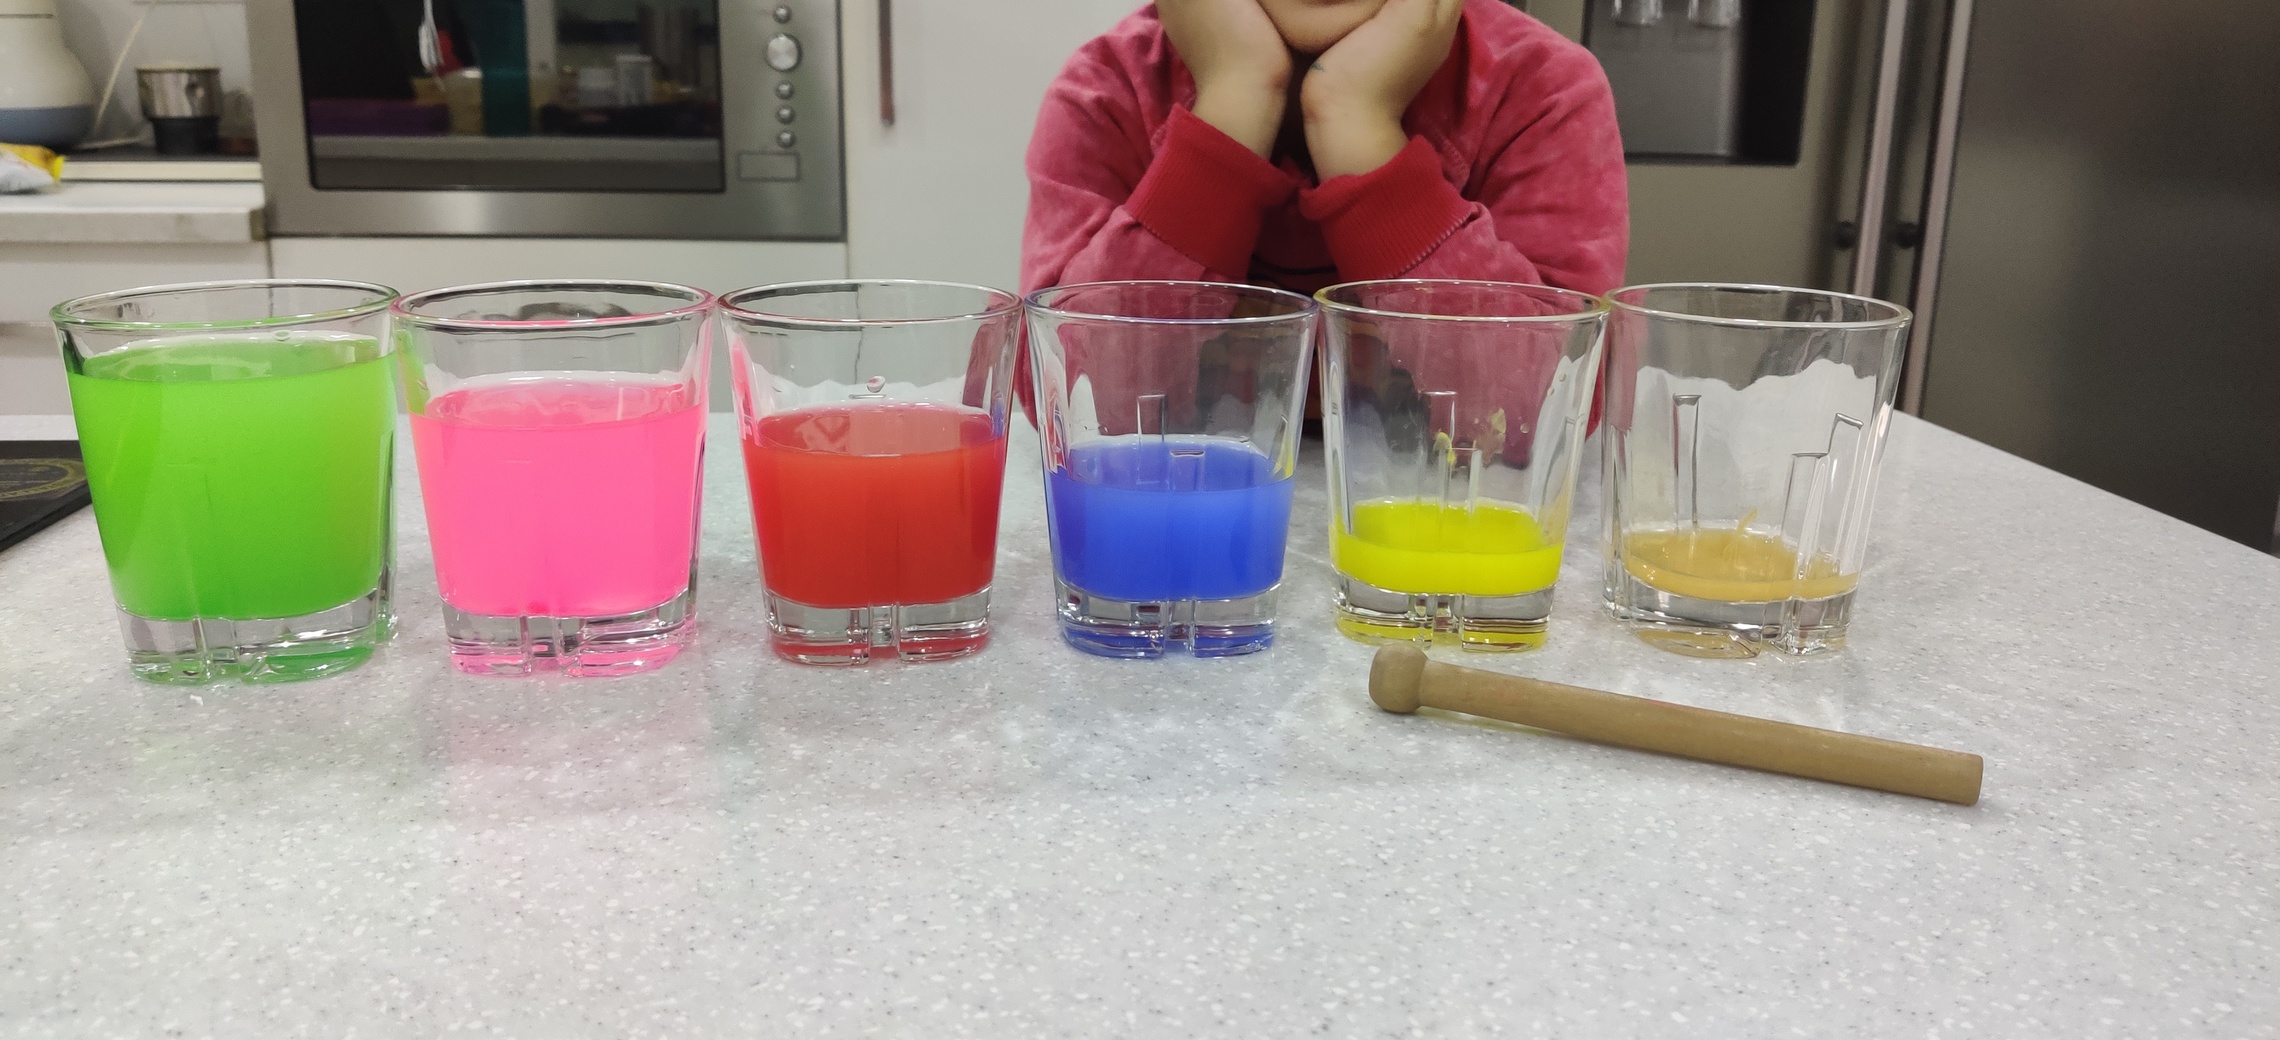
Now add food coloring to give a nice colorful look. Colors will have no effect on the sound. It just makes it good to look at 😉 Your colorful water glass xylophone is ready!

After adding colors, ask your child to tap each glass with a xylophone stick gently and again notice the sound each glass makes. At this stage ask your child if they make the same or different sounds? You will notice that the more the water in the glass, the lower is the pitch and the lesser the water, the higher the pitch!

Science Behind the Sound
If your child is above five years, he/she will be able to understand the science behind it. I think four years may find it difficult to understand the reason. But they will have fun making music with the glasses.
The water inside the glass vibrates when we tap the glass with the stick. The pitch of the sound depends on the speed of the vibration. The glass with most water slows down the vibrations the most. It, therefore, produces the lowest-pitched sound. In the same way, the glass with the least water produces a high pitched sound as the vibrations are shorter.
The same thing can be demonstrated on a guitar. The thicker strings create a lower sound than the thinner strings as thicker strings have more mass.
Try it !
Do try this activity as it combines science, maths, art, and music! Your child will understand the science behind sound. Your child will make use of his maths skills as he/she will make use of measuring cups to fill water. Also, you can use paint colors to demonstrate secondary colors when coloring the water in glasses. Last, but not least, kids will have fun creating music.
Take it further
- You can try using different tools for tapping the glasses. Use a metal spoon. Does it make a Difference?
- You can try new sounds by changing the water levels of glasses. You can add or reduce the water in the glasses.
- Try using different liquids and compare the results. You can try oil/milk/juice instead of water. Different liquids have different densities, and sound waves travel through them differently
- Try plastic glasses instead of glass. Would it make a difference?
Let me know in the comments if you will be trying this Water Glass Xylophone Experiment with your child?
If you are interested in more science experiments, try our Make Cloud in a Jar Experiment

