
How to Teach About Rupees and Paise
As a parent, if you are wondering how to teach your child about Rupees and Paise, this post will be helpful to you.
This month my son was doing National Symbols of India in his school. I decided to teach more about the National Currency of India, Rupees.
My experience with my son has always shown me that children learn best when they are playing games and having fun. Therefore, I have prepared a free printable containing hands-on activities to teach more about the national currency of India, Rupees. You can download the same at the end of the post.
Activities to Teach About Rupees and Paise
To start, I told him that the Indian currency is called the Indian Rupee and the coins are called Paise. One Rupee consists of 100 paise. Then we followed with the below activities.
Activity 1
Colour the Rupee Symbol

With this activity, the child will know what is the symbol of the Rupee. You can show him the symbol in different items purchased from the market.
Activity 2
Craft Activity
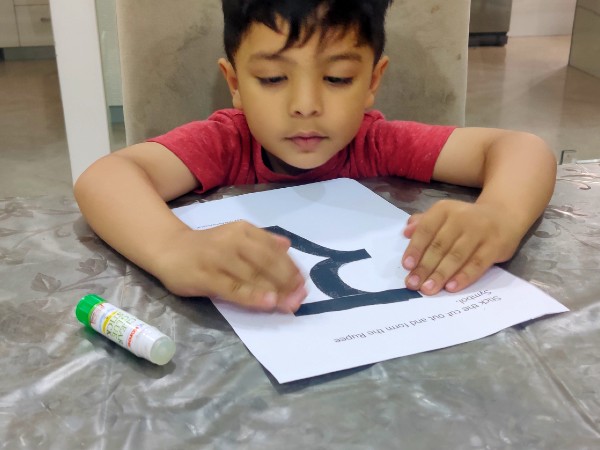
Here the child has to paste the cutouts to form Rupee Symbol. This is an extension of previous activity.
Activity 3
Match the Currency Notes with Picture
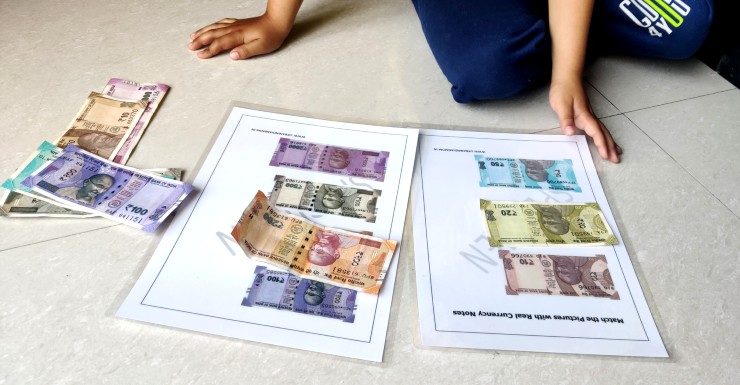
For this activity, make use of real notes. We discussed that Banknotes in India are currently being issued in the denomination of Rs 10, Rs 20, Rs 50, Rs 100, Rs 200, Rs 500 and Rs 2000. Now he had to match the real notes with the pictures.
Activity 4
Different Coins

We discussed coins are currently being issued in denominations of one rupee, two rupees, five rupees, and ten rupees. I showed him the real coins and asked him to arrange them from small to big in terms of value. I showed him the National Emblem is printed on the back of each coin.
Activity 5
Identify the Color of Different Value
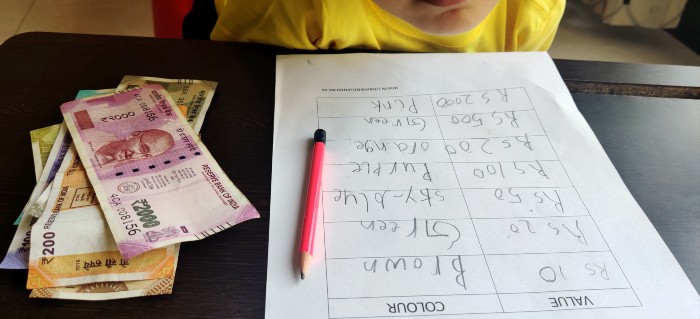
My son is in Sr. Kg right now. He is able to read and write. I asked him to write the colour of each currency on the sheet.
Activity 6
Arrange the Money in Increasing Order Of Value

Just like coins, I asked him to arrange the currency notes from small to big in terms of value. He was able to do in his first attempt.
Later we discussed the below
- Why do we need money? We need money to buy things.
- Who makes the money? The Reserve Bank of India prints money and notes are signed by the Governor of RBI.
- The Notes have two sides Obverse and Reverse. The front side is Obverse and the Backside is Reverse. The front side has a picture of Mahatma Gandhi. The Reverse side has pictures of important monuments and events.
- The amount on Rupee notes is written in 17 languages. On the obverse or front side, the value is written in English and Hindi. On the reverse side, there is a language panel that shows the value of the note in 15 other languages of India.
- What is money made of? Rupees are made of cotton. In developed countries, money is made of plastic.
If you want to take this further, you can discuss in detail the different monuments displayed on money and how money is actually printed. You can also discuss values of coins now discontinued like 25 paise and 50 paise.
Free Downloads
Activity 1 and Activity 2 Indian Rupee Symbol
Activity 3 Match the Currency Notes with Pictures
Activity 5 Identify Colour of Different Values
I hope you found this post on how to teach about Rupees and Paise to pre-schoolers helpful. Let me know in the comments.