Kandinsky Inspired Circle Art for Kids
If you are in a mood for a simple art activity for your kids, do try this Kandinsky Inspired Circle Art for Kids. Last week we had done Paul Klee Inspired Shape Art where we made our own shape art inspired by his painting Castle and the Sun.
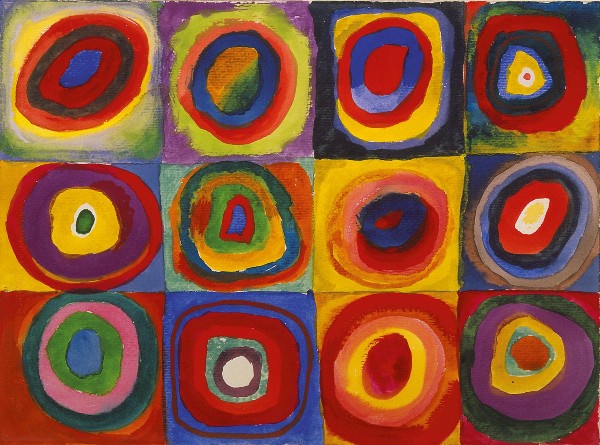
This activity is simple to put together and suitable for children of all ages. The kids have to replicate Kandinsky’s famous piece of art, Square with Concentric Circles. The best thing about replicating this artwork is that the circles don’t have to be perfect. They can be little crooky and shaky. It will look just fine. For young kids you can just ask them to copy the pattern. For older kids, you can tell them to replicate the exact art.
Original Kandinsky Circle Art

Kandinsky was known for his abstract art. One of his famous circle artwork is Squares with Concentric Circles.
I showed my son the photograph of the painting and told him that it an abstract art. We discussed what is abstract art? I told him abstract art is the art that does not show any actual real objects.
Secondly I told him what are concentric circles? Concentric circles are circles inside circles. getting smaller as they reach the centre point.
Then we discussed why Kandinsky drew this painting? He used this painting to explore how different colors felt when combined next to other colors. He wanted to find out which colors stand out and which ones blend together when placed next to each other.
I asked him if he can see how the red looks different when it is next to colours like yellow or orange compared to when it is next to blue and green?
Kandinsky Inspired Circle Art for Kids
After our discussion time, it was art time.
Supplies Required
A4 White Paper
Crayons/ Paint colors
Paint Brush
Procedure
Step 1
Start off by giving instructions. I told him he has to replicate the art. He doesn’t have to make the exact copy and choose same colors. He can choose his own colors. But he has to make concentric circles inside squares.
Step 2
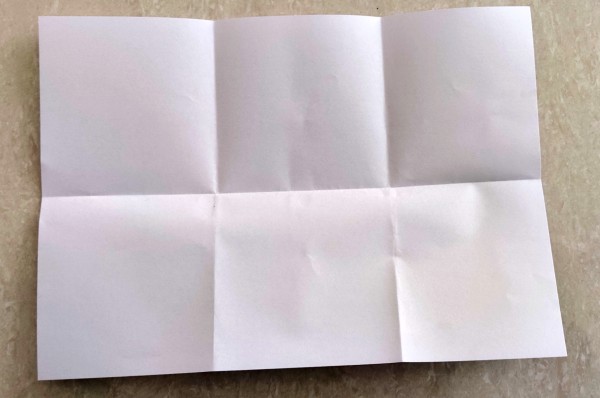
Before you begin coloring, fold the paper into imaginary sections. Both horizontally and vertically, fold the paper in half. Then fold the right side of the paper into the central vertical fold. Now, fold the left side of the paper into the centre vertical field. Your paper is now split into 6 sections, and ready for your little artists to start their drawings.

Step 3
You can use any colors – crayons or paint . A heads up, painting colors are going to be messy.
Step 4
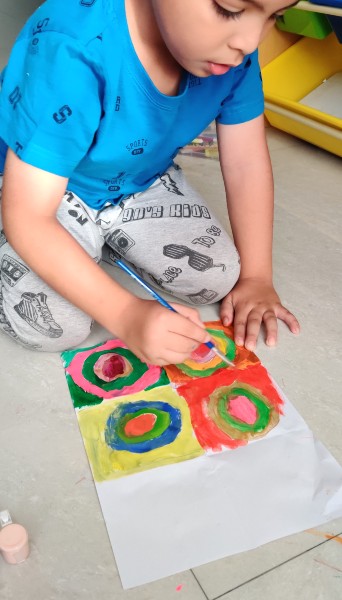
Start with the center. Then start painting around it with different colors. Then paint the background with a different color.
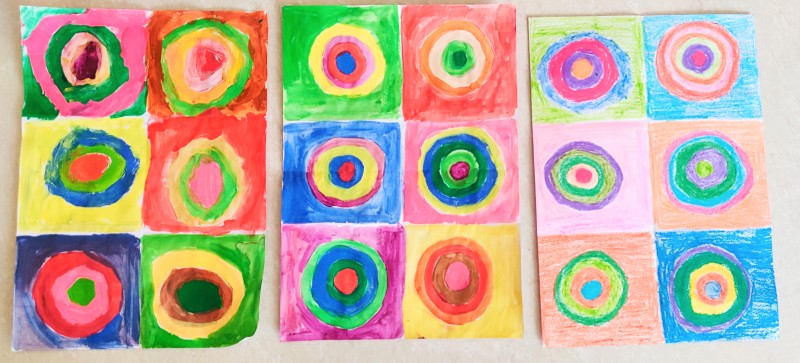
In the end you should have each of the 6 sections starting with a different color and different background color. You can even make circles with pencils if your child is very young and ask them to paint or color inside it.


Step 5
Voila ! Your master piece is ready ! Let it dry before showing off to everybody. I also accompanied my son in making my own masterpiece 😉

If you or your child is interested to study more about the artist Kandinsky, here are some of my favourite links on You Tube
Explore Shapes and Colors With Kandinsky!
Art with Mati & Dada | Kandinsky
My son was not interested to watch the videos but he did have fun making this painting. Let me know in the comments if you will be trying this Kandinsky Inspired Circle Art for Kids or found this post helpful to plan next activity with your kids?

